


-
A&P Ultrasound Courses
-
Clinical Ultrasound Courses
-
Adv. Clinical Ultrasound Courses
-
U/S-Guided Procedures
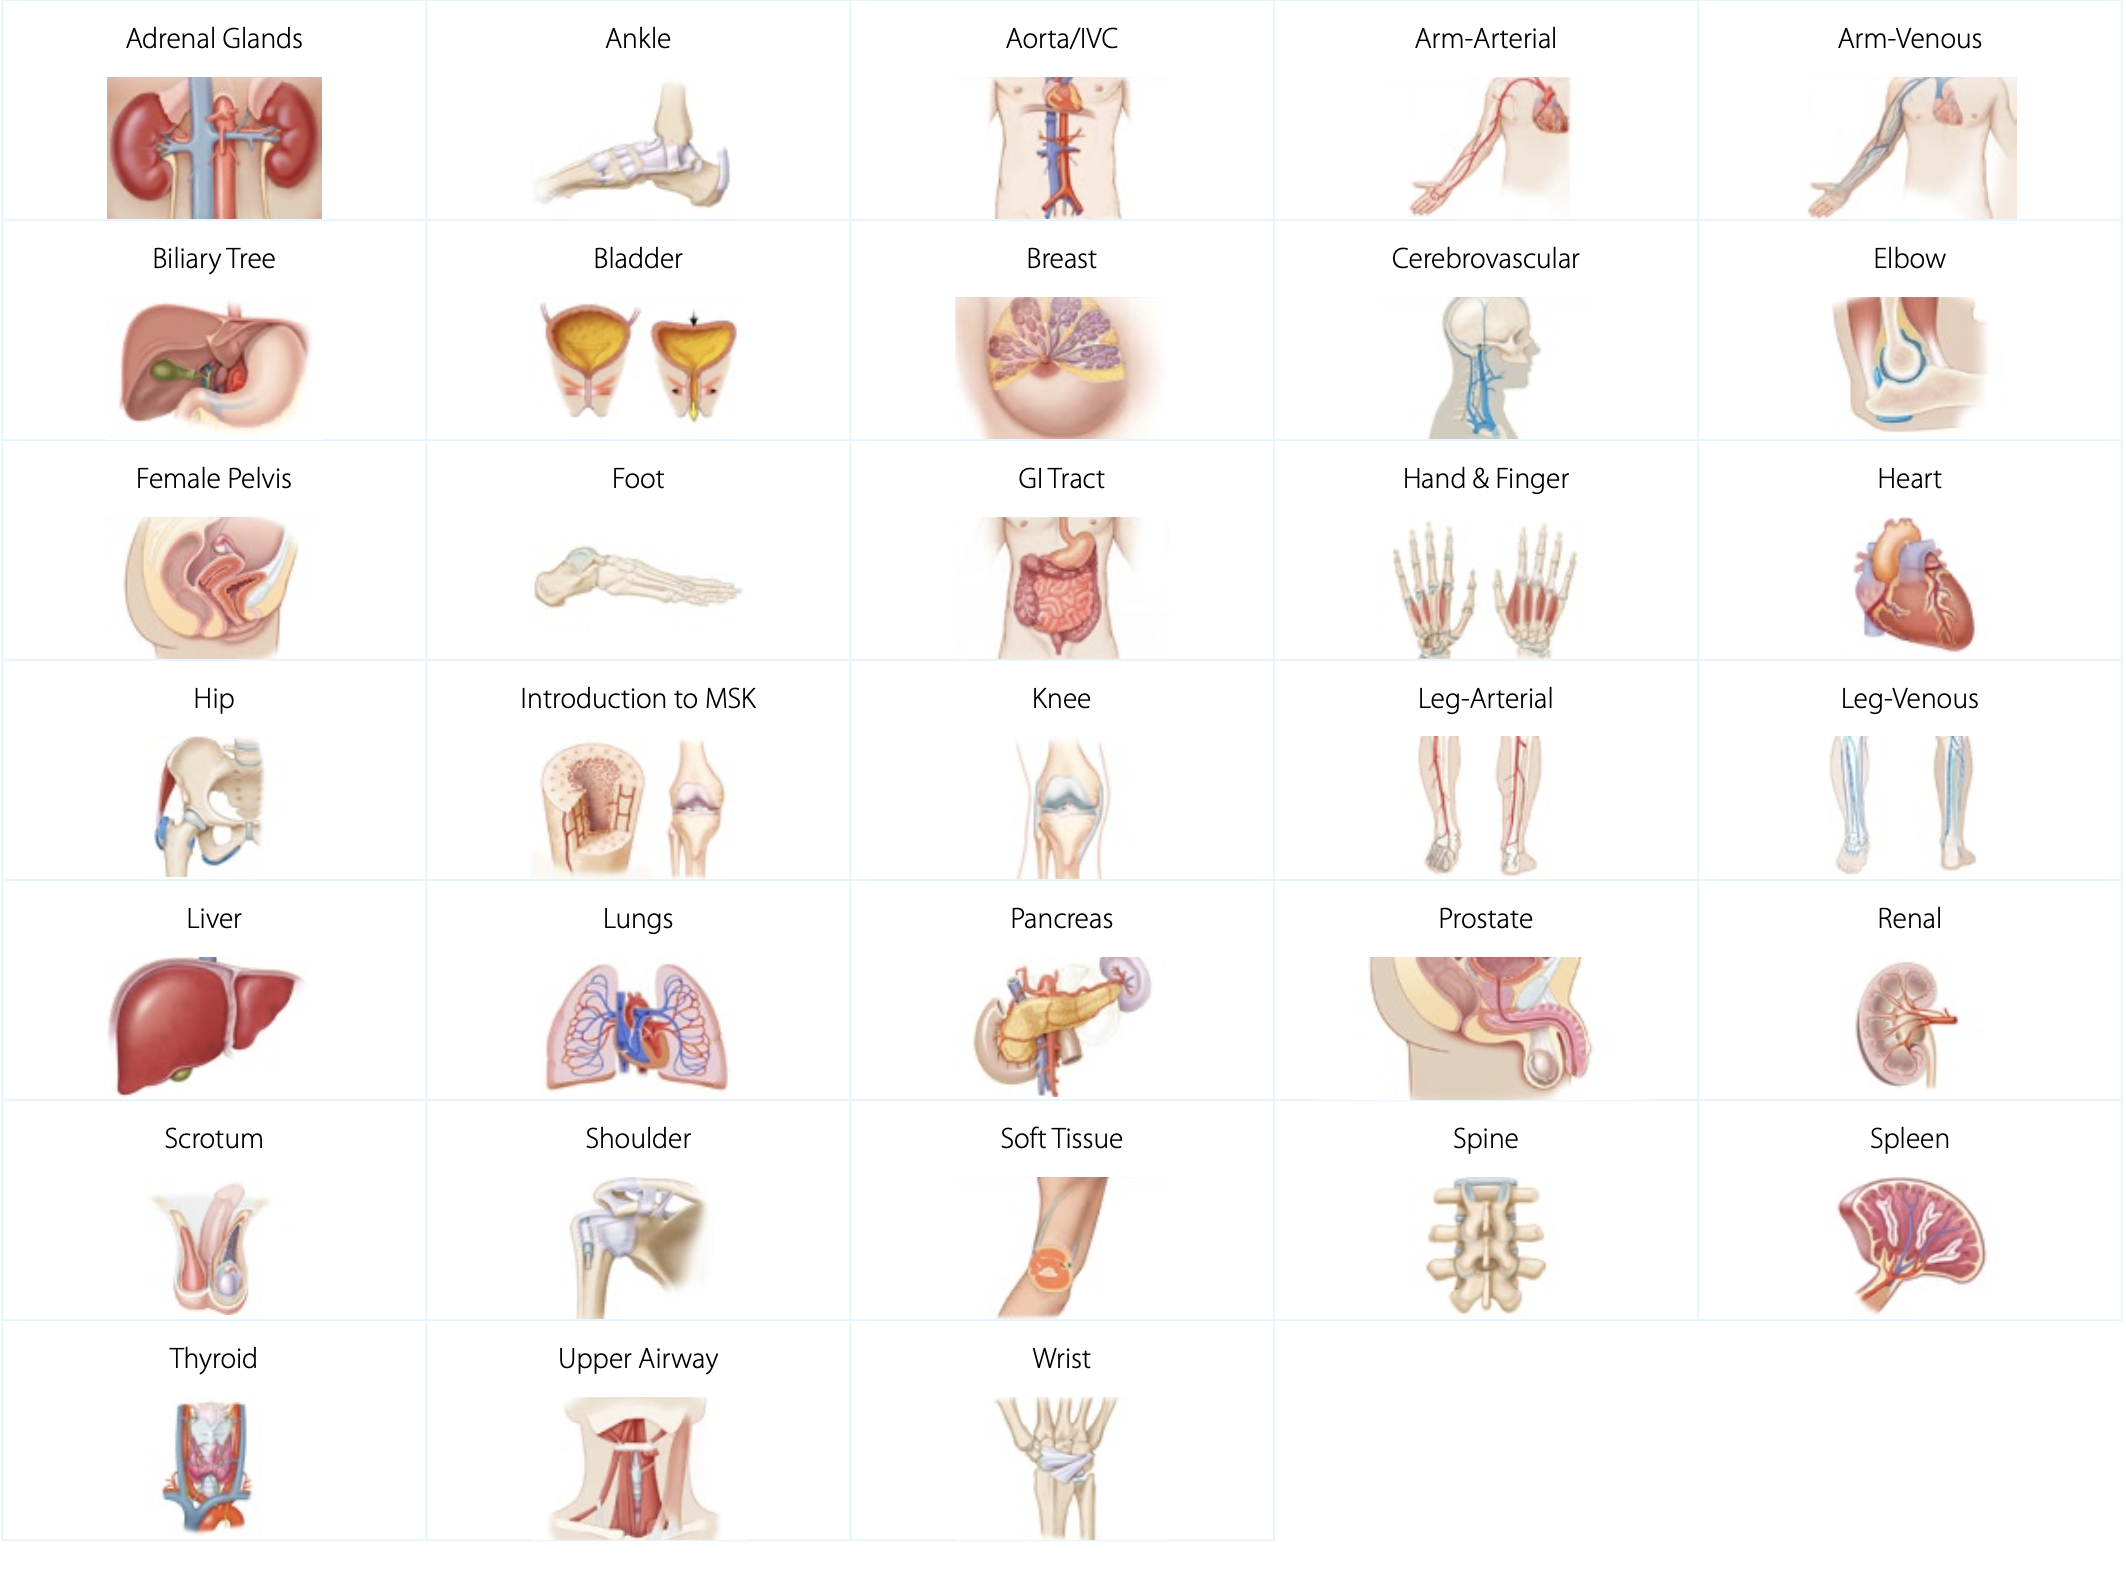
Anatomy & Physiology Ultrasound Courses
Our A&P ultrasound training courses are designed to provide you with a strong foundation of ultrasound knowledge, specific to anatomical regions, organs, and structures. Our expert-led ultrasound courses cover everything from regional anatomy & physiology to sonographic anatomy, scanning technique, and imaging tips & pitfalls. With SonoSim, you can develop the essential skills and knowledge needed to excel in ultrasound.
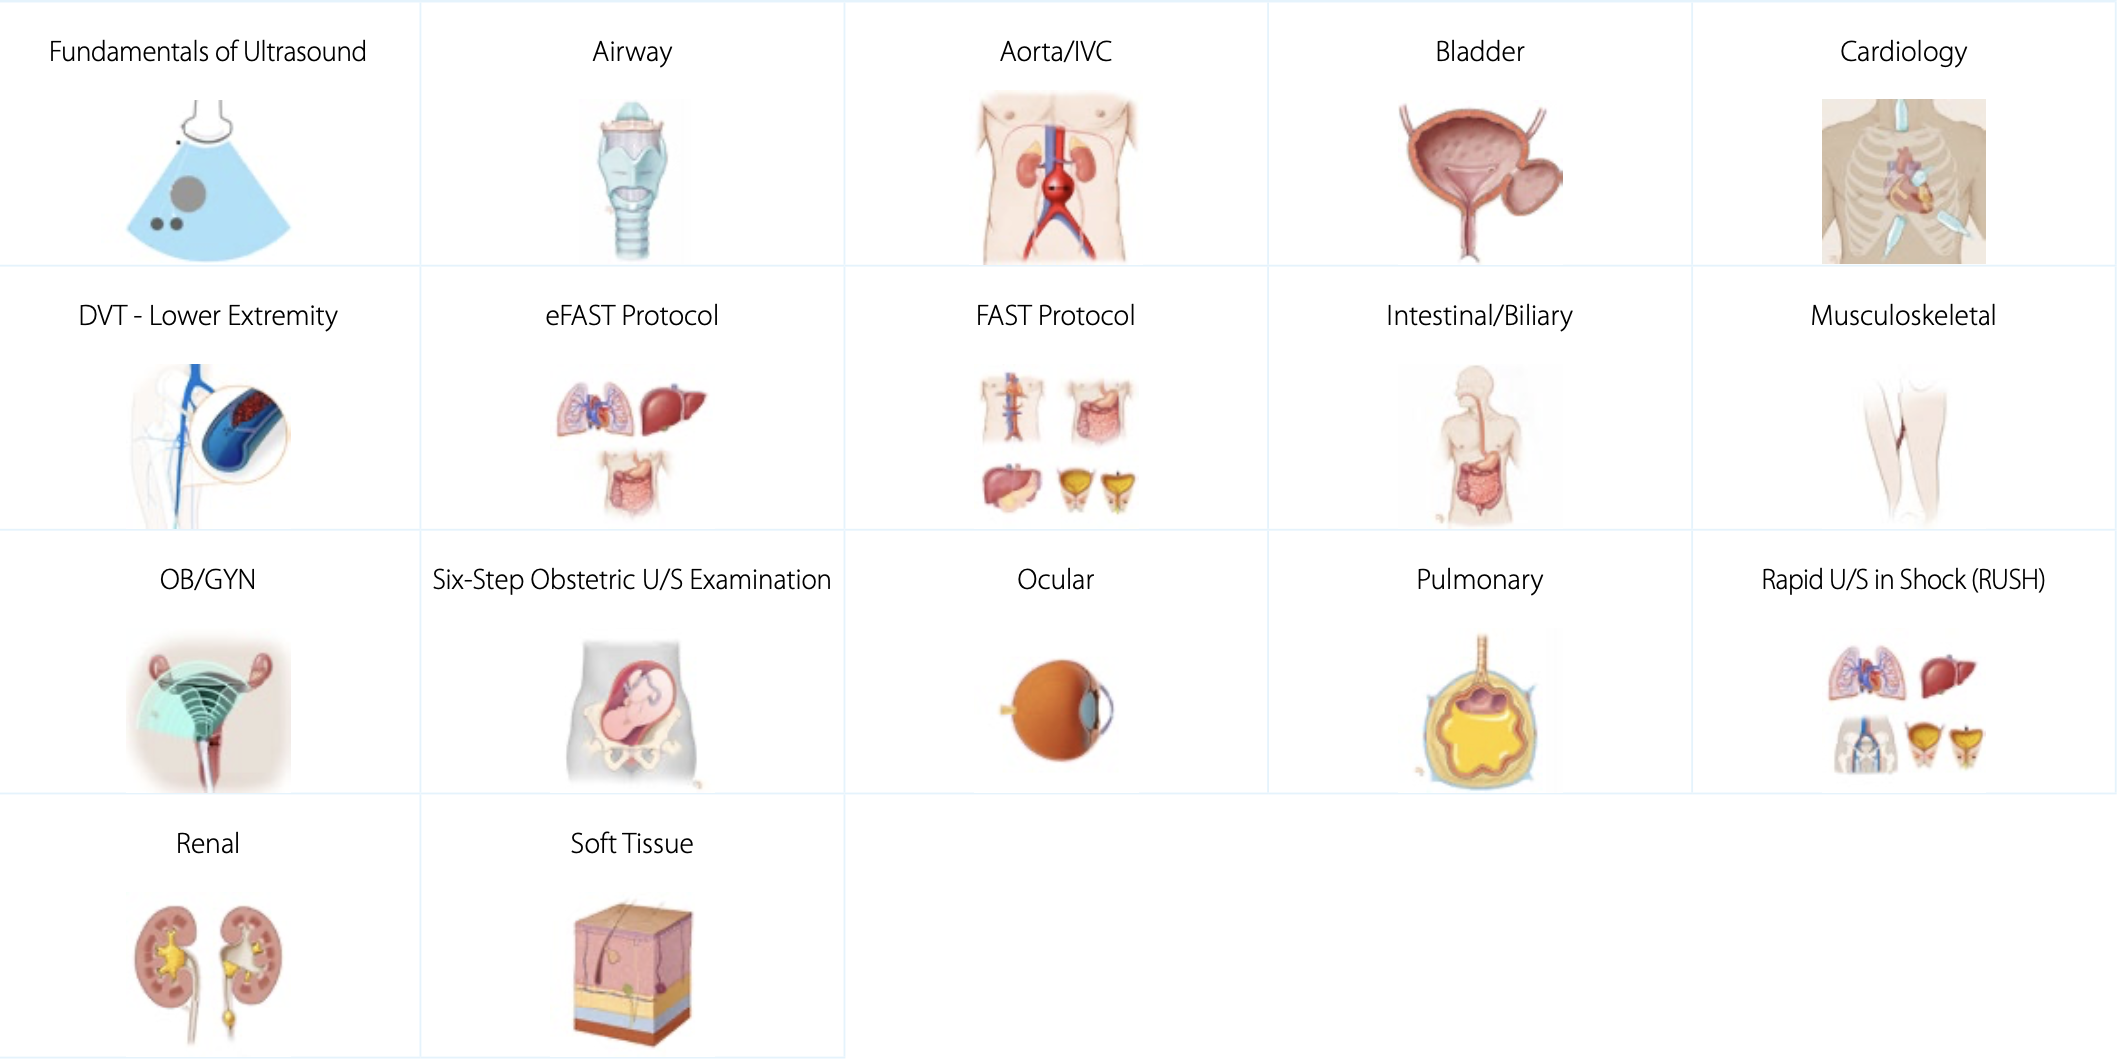
Clinical Ultrasound Courses
Our clinical ultrasound courses provide an in-depth comprehension of the necessary components to accurately assess and diagnose using ultrasound. We cover exam indications, regional anatomy, sonographic anatomy, and sonographic technique. Our ultrasound courses also focus on pathologic case studies and imaging tips & pitfalls to give you an in-depth understanding of how diseases present in ultrasound imaging. This category supports both diagnostic medical sonography (DMS) learners as well as medical practitioners looking for point-of-care ultrasound (POCUS) training.
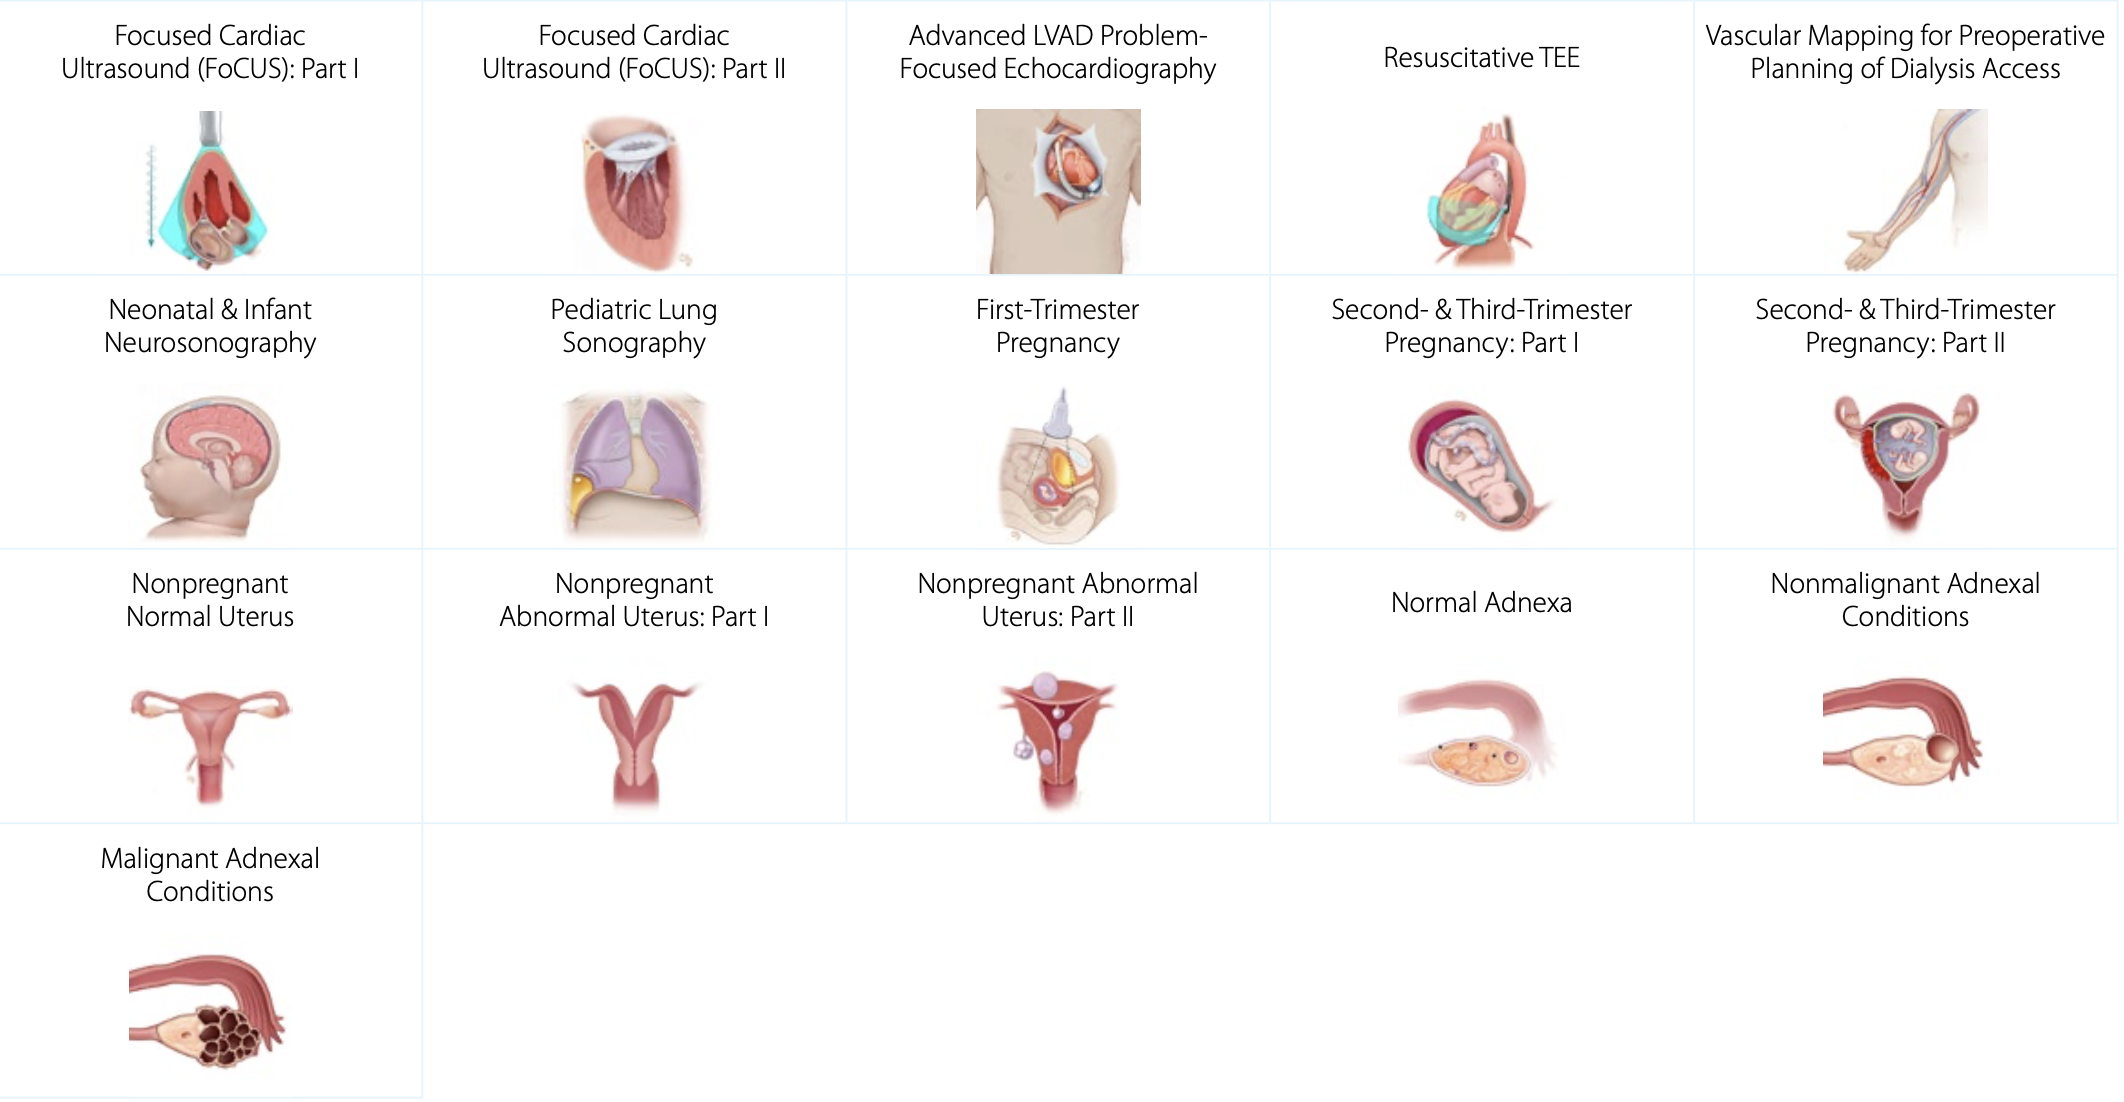
Advanced Clinical Ultrasound Courses
Our advanced clinical ultrasound courses cover complex diagnoses and sonographic applications. This is an ever-expanding list of courses with a focus on specific pathologic conditions. These advanced clinical and diagnostic ultrasound topics provide learners a deep understanding of ultrasound techniques for assessing a variety of complex medical conditions.
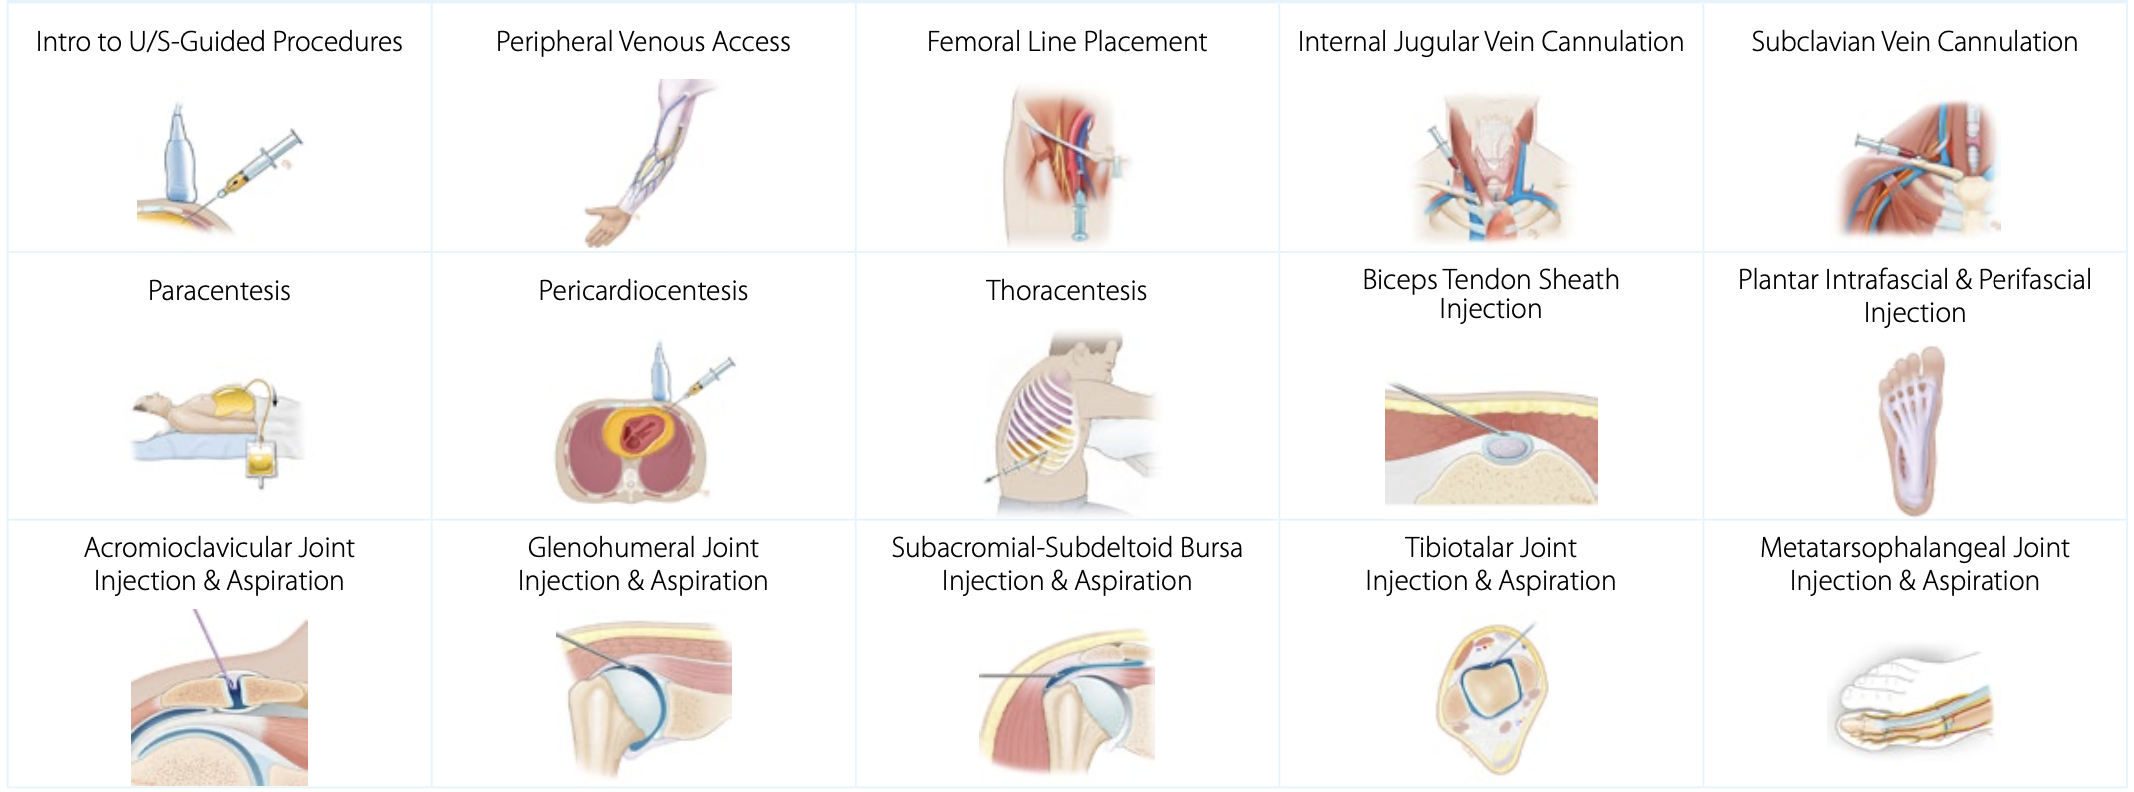
Ultrasound-Guided Procedure Courses
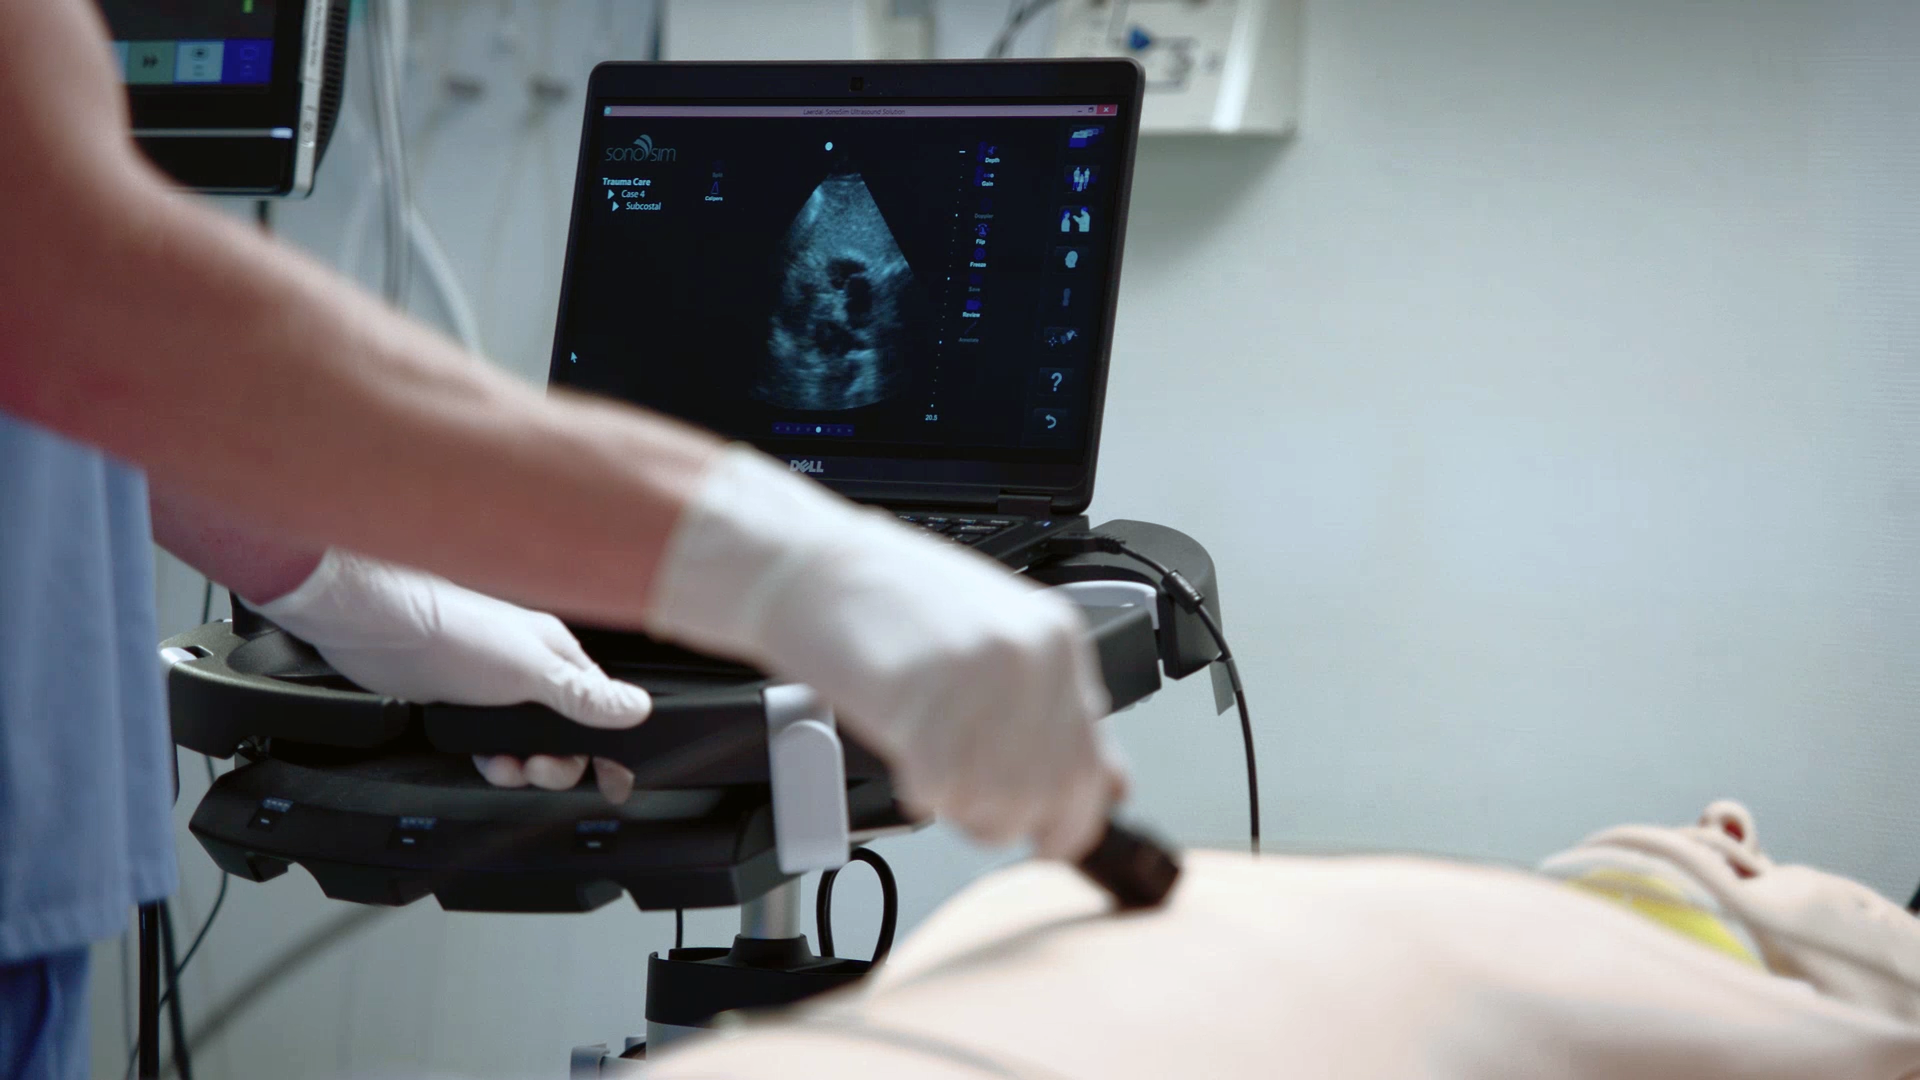
Ultrasound-guided procedures are becoming increasingly used to minimize complications and improve patient care. SonoSim ultrasound procedures training courses cover patient positioning, procedural steps, imaging adjuncts, potential complications, and more. Learn at your own pace in a risk-free environment. Practice ultrasound-guided procedures as often as you like, risk-free - anytime, anywhere.


Preparing Today’s Medical Students for a Changing Healthcare Landscape
Point-of-Care ultrasound provides a unique opportunity for educators to pivot from time-based to competency-based learning while improving patient care.
-300x300.gif)